Three.js でテクスチャの貼り付け(地球を作ってみた)
こんにちは。
プログラムが好きなdynaです。
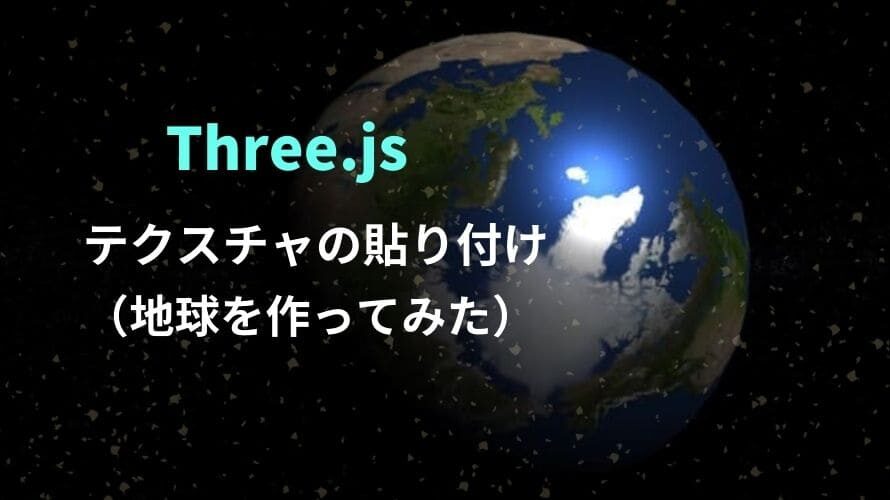
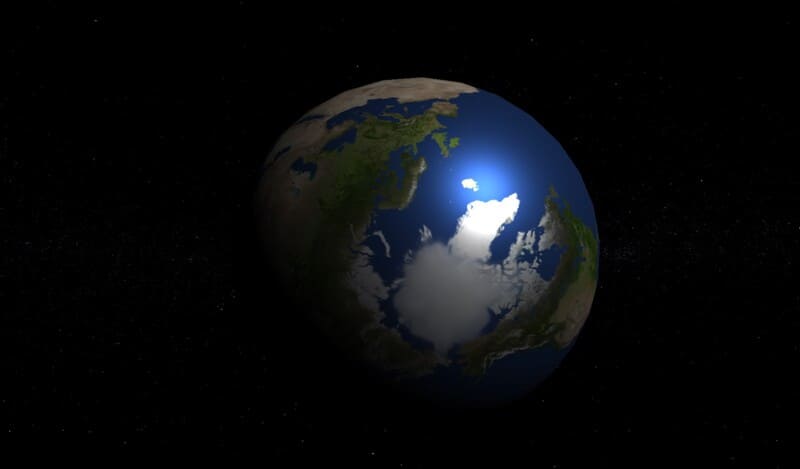
今回は、Three.js で球に地球っぽいテクスチャを貼り付けてみました。
よく見るアレです!!
画像はこちら↓
デモはこちら↓(押してみてね)
かすかに背景に星空が貼ってあります。(PC画面のゴミじゃないです)
今回、画像はフリー素材を使用させていただいてます。
では、コード記載していきます。
テクスチャの貼り付け ⇒Three.jsのマテリアルの基本
Three.js の背景 ⇒image – 背景 – three.js cdn
テクスチャの貼り付け方
シーンやカメラなどは以下の記事にあるので、そちらをご覧ください。
テクスチャの貼り付け部分だけ調べたことを記載していきます。
マテリアルにテクスチャを張るには、画像を読み込み、mapとして設定します。
1 2 3 4 5 6 7 8 9 10 11 12 13 14 15 16 17 18 19 | //ジオメトリ作成(球) const geometry = new THREE.SphereGeometry(300, 30, 30); // 画像を読み込む const texture = new THREE.TextureLoader().load('img/2k_earth_daymap.jpg'); //マテリアルにテクスチャ貼り付け const material = new THREE.MeshStandardMaterial({ map: texture }); // メッシュを作成 const mesh = new THREE.Mesh(geometry, material); // 3D空間にメッシュを追加 scene.add(mesh); // 平行光源 const directionalLight = new THREE.DirectionalLight(0xFFFFFF); directionalLight.position.set(1, 1, 1); |
この辺はほぼ参考サイトさんのままですが、以下、備忘です。
THREE.TextureLoader()
テクスチャ をロードするためのクラス。これは、ファイルをロードするために内部でImageLoaderを使用します。
引用元:https://threejs.org/docs/#api/en/loaders/TextureLoader
1 2 3 | const texture = new THREE.TextureLoader().load( '○○ファイル名/○○.jpg' ); |
この処理で、テクスチャの読み込みが発生します。
マテリアルの map
先ほど読み込んだテクスチャを、マテリアルのマップに設定します。
1 2 3 4 5 6 | //マテリアルにテクスチャ貼り付け const material = new THREE.MeshStandardMaterial({ map: texture }); |
めっちゃ簡単ですね。
これで表示されました。
背景の貼り付け方
あわせて背景も星空にしてみます。
背景に星空を設定するには、シーンにバックグランドとして設定します。
THREE.TextureLoader()で画像を読み込み、scene.backgroundに設定します。
1 2 3 4 5 | //背景の設定@シーン let bgTexture = new THREE.TextureLoader().load("img/2k_stars.jpg"); scene.background = bgTexture; |
全体のコード
若干余分なコードもついていますが、以下のような形で読み込めます。
1 2 3 4 5 6 7 8 9 10 11 12 13 14 15 16 17 18 19 20 21 22 23 24 25 26 27 28 29 30 31 32 33 34 35 36 37 38 39 40 41 42 43 44 45 46 47 48 49 50 51 52 53 54 55 56 57 58 59 60 61 62 63 64 65 66 67 68 69 70 71 72 73 74 75 76 77 78 79 80 81 82 83 84 85 86 87 88 89 90 91 92 | <!DOCTYPE html> <html lang="ja"> <head> <meta charset="UTF-8"> <title>マテリアルテクスチャ</title> <script type="text/javascript"src="https://cdnjs.cloudflare.com/ajax/libs/three.js/99/three.min.js"></script> <script type="text/javascript" src="https://cdn.jsdelivr.net/npm/three@0.101.1/examples/js/controls/OrbitControls.js"></script> <style> body { /* set margin to 0 and overflow to hidden, to go fullscreen */ margin: 0; overflow: hidden; } </style> </head> <body> <div id="WebGL-output"> </div> <script type="text/javascript"> //ウィンドウサイズ const width = window.innerWidth; const height = window.innerHeight; //シーンの作成 const scene = new THREE.Scene(); //カメラの作成 const camera = new THREE.PerspectiveCamera(45, width / height, 1, 10000); camera.position.set(0, 0, +1000); //レンダラーの作成 const webGLRenderer = new THREE.WebGLRenderer(); webGLRenderer.setClearColor(new THREE.Color(0x000000)); webGLRenderer.setSize(window.innerWidth, window.innerHeight); // 滑らかにカメラコントローラーを制御する const controls = new THREE.OrbitControls(camera, document.body); controls.enableDamping = true; controls.dampingFactor = 0.2; //HTMLに書きだし document.getElementById("WebGL-output").appendChild(webGLRenderer.domElement); //ジオメトリ作成(球) const geometry = new THREE.SphereGeometry(300, 30, 30); // 画像を読み込む const loadPic = new THREE.TextureLoader(); const texture = loadPic.load('img/2k_earth_daymap.jpg'); //マテリアルにテクスチャ貼り付け const material = new THREE.MeshStandardMaterial({ map: texture }); // メッシュを作成 const mesh = new THREE.Mesh(geometry, material); // 3D空間にメッシュを追加 scene.add(mesh); // 平行光源 const directionalLight = new THREE.DirectionalLight(0xFFFFFF); directionalLight.position.set(1, 1, 1); //背景の設定@シーン let bgTexture = loadPic.load("img/2k_stars.jpg"); scene.background = bgTexture; // シーンに追加 scene.add(directionalLight); tick(); // 毎フレーム時に実行されるループイベント function tick() { mesh.rotation.z += 0.001; mesh.rotation.y += 0.001; webGLRenderer.render(scene, camera);// レンダリング requestAnimationFrame(tick); } </script> </body> </html> |
過去のThree.js の記事
もっと色々勉強したいですね!!
過去のThree.jsの記事は、カテゴリーのThee.js にありますので、併せてどうぞ。
ここまで読んで下さりありがとうございます。
